Apache Spark Cluster with Kubernetes and Docker - Part 2
Feb 1, 2016 00:00 · 582 words · 3 minutes read
In the first part of this tutorial, we deployed a Spark Cluster on Google Compute Engine (GCE) and exposed a Zeppelin notebook service in order to provide access to the cluster and launch jobs via a notebook frontend.
The problem with this configuration is that the notebooks are stored locally in the machine we create (specifically under “${ZEPPELIN_HOME}/notebook”) and are lost the moment we shut the service down. In this second part, we create a GCE persistent disk to persistently store the Zeppelin notebooks. This requires the creation of a new docker image for Zeppelin and a new yaml file for the Zeppelin controller.
Before we begin
Let’s assume that all steps described in Part 1 have been completed. To deploy the new Zeppelin service, we first have to delete the existing one:
kubectl delete services zeppelin-controller
kubectl delete rc zeppelin-controller
Create a GCE persistent disk
Creating a persistent disk is a one-liner:
gcloud compute disks create spark-disk --size 20GBgcloud compute disks describe spark-diskCreate a new docker image for Zeppelin
From the kubernetes repository download the following files:
cd KubernetesSpark/examples/spark
mkdir -p images/zeppelin
cd images/zeppelin
curl -O https://raw.githubusercontent.com/kubernetes/kubernetes/v1.2.0-alpha.5/examples/spark/images/zeppelin/Dockerfile
curl -O https://raw.githubusercontent.com/kubernetes/kubernetes/v1.2.0-alpha.5/examples/spark/images/zeppelin/docker-zeppelin.sh
curl -O https://raw.githubusercontent.com/kubernetes/kubernetes/v1.2.0-alpha.5/examples/spark/images/zeppelin/zeppelin-env.sh
curl -O https://raw.githubusercontent.com/kubernetes/kubernetes/v1.2.0-alpha.5/examples/spark/images/zeppelin/zeppelin-log4j.properties
In the Dockerfile change the spark-base version from latest to _1.5.1v2.
#FROM gcr.io/google_containers/spark-base:latest  # before
FROM gcr.io/google_containers/spark-base:1.5.1_v2 # after
Build the new image and tag it appropriately (replace notiv by another username):
docker build -t notiv/zeppelin:1.5.1_v2 .
docker tag notiv/zeppelin:1.5.1_v2 eu.gcr.io/project-spark-k8s-vv2/zeppelin:1.5.1_v2Then upload the image to your registry (this can take a while, as the image is pretty big):
gcloud docker push eu.gcr.io/project-spark-k8s-vv2/zeppelin:1.5.1_v2Update the yaml file
Now we modify the yaml file for the Zeppelin controller, so that a) it corresponds to the new docker image and b) the persistent disk we created is provisioned when we start the controller.
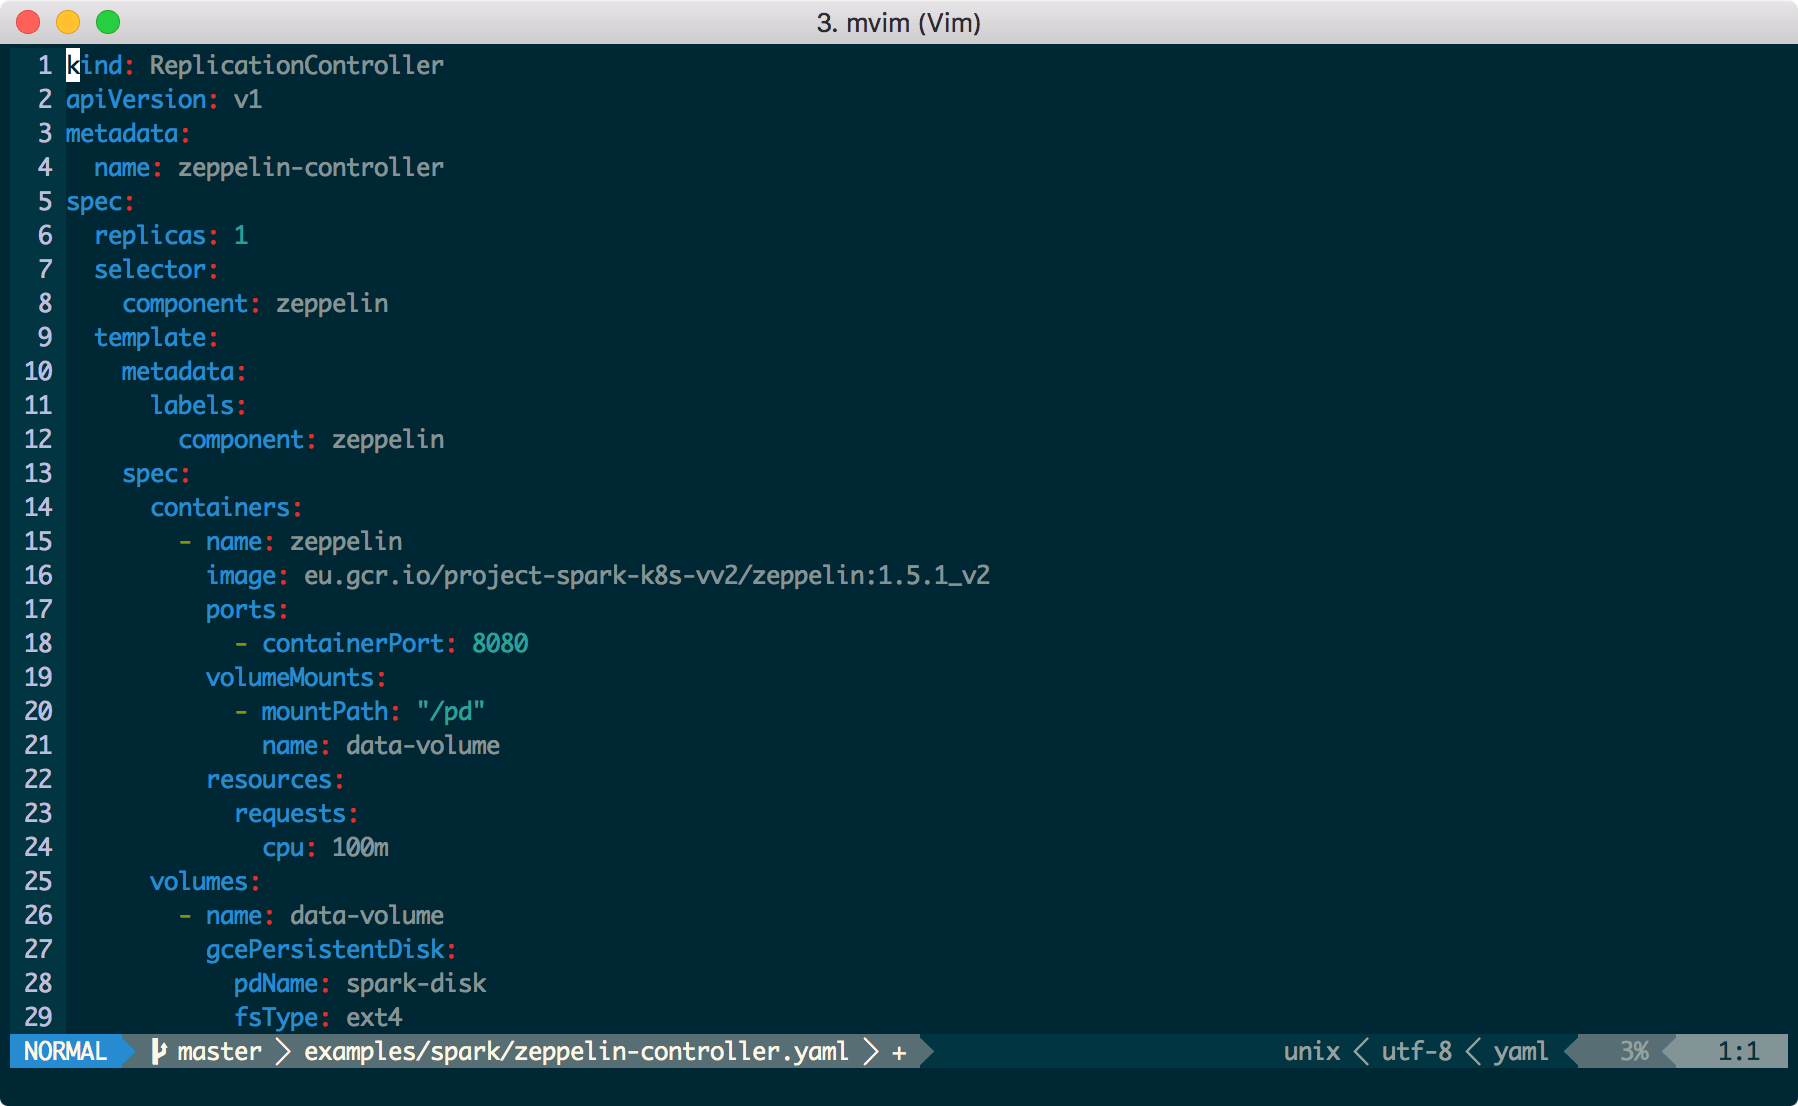
In this gist you can find the code1.
Start the Zeppelin UI
Now we can start the Zeppelin service, as we did in Part 1. Run:
kubectl create -f examples/spark/zeppelin-controller.yamlkubectl get pods -lcomponent=zeppelinkubectl port-forward zeppelin-controller-xyz12 8080:8080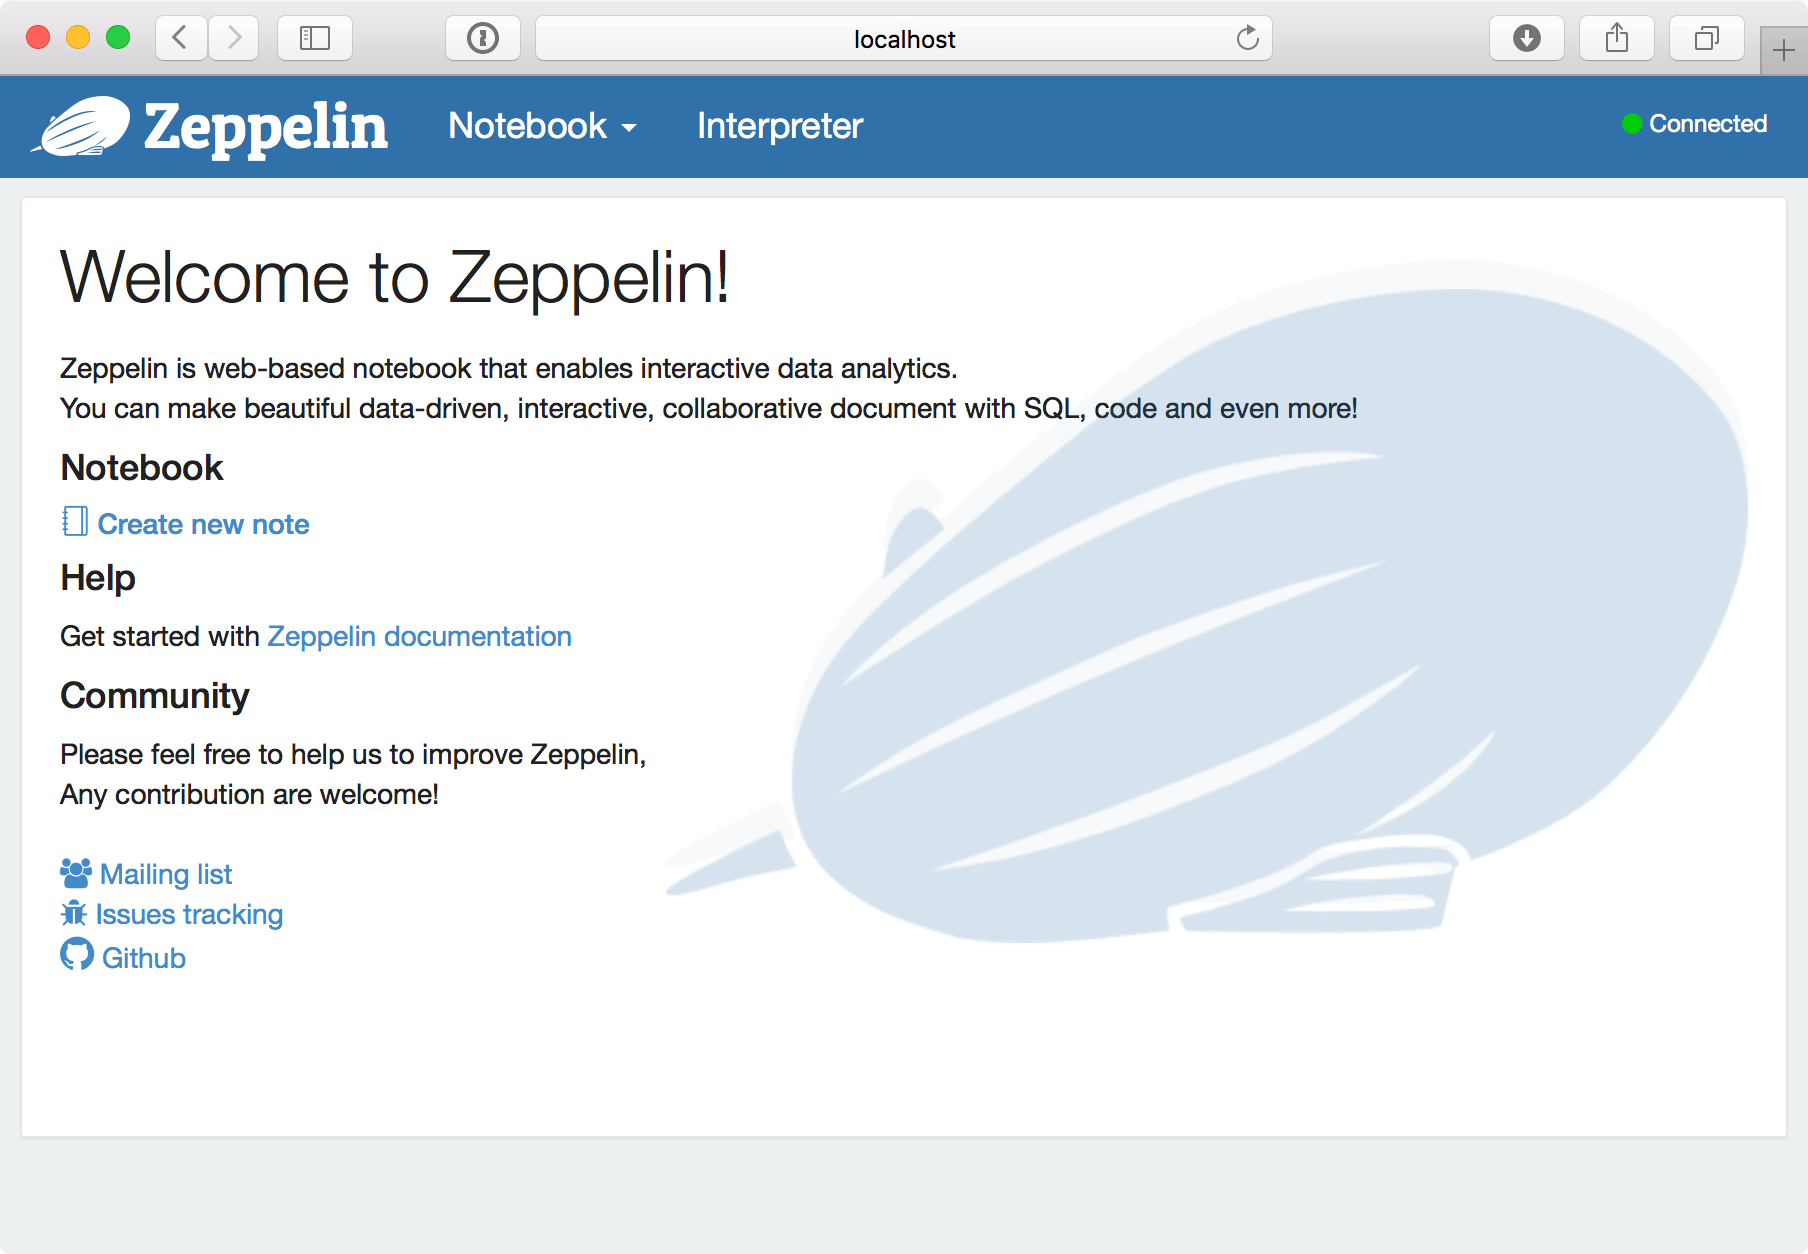
To access the notebook externally, the service should be exposed:
kubectl expose rc zeppelin-controller --type="LoadBalancer"Run the following command to find the external IP:
kubectl get services zeppelin-controller
That means that Zeppelin can also be found at http://104.155.67.27:80802
Final note
After setting up the cluster, the next thing I did, was to upload a dataset to play with. Here’s the process.
First, make sure you have gsutil installed3. If this is not the case, follow the instructions here. Then create a bucket with a unique name:
gsutil mb -c nearline -l europe-west1 -p project-spark-k8s-vv2 gs://notiv-spark-bucketgsutil cp ~/linkage.csv gs://notiv-spark-bucket/data/linkage/linkage.csvval linkage = sc.textFile("gs://notiv-spark-bucket/data/linkage/linkage.csv")- Don’t forget to change the ProjectID when you define the image. [return]
- Important: As noted in the previous post, everyone with this IP address has access to this notebook! [return]
- If you installed the Google Cloud SDK, then gsutil is already installed. [return]